In this beginner-friendly tutorial, I’ll show you how to make Pinterest pins the easy way.
All you need for this is your Pinterest profile and a free Canva account.
You’ll be using Canva to find a high-quality template that reflects your brand and niche and edit them.
As part of this tutorial, I’ll also show you how to add your new pins to Pinterest and optimize each one for maximum impact.
How to Make Pinterest Pins: A Tutorial
The following 14 steps show you how I created this Pinterest pin using a template from Canva.
If you follow these steps exactly, you should be able to create, upload, and optimize your Pinterest pins in less than the time it takes to drink a cup of coffee.
Total Time: 20 minutes
1. Search for Pinterest Pin Templates
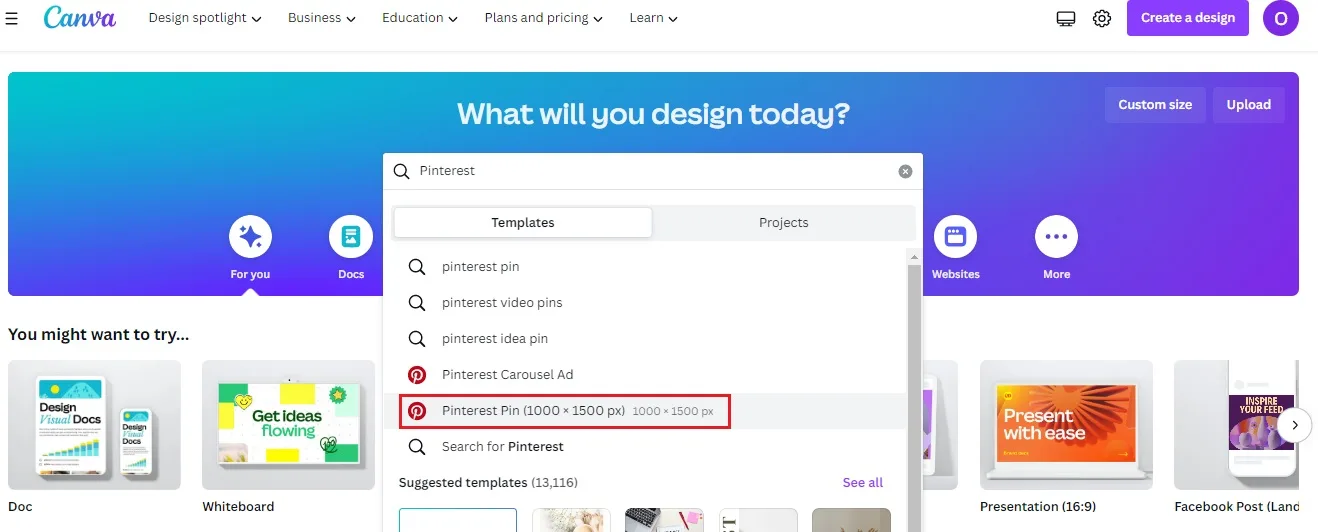
Log into your Canva account and type ‘Pinterest’ into the search bar on the homepage.
Select Pinterest Pin (1000 x 1500px).
This will ensure that your design matches Pinterest’s recommended image size for pins.
2. Use Filters to Select a Template
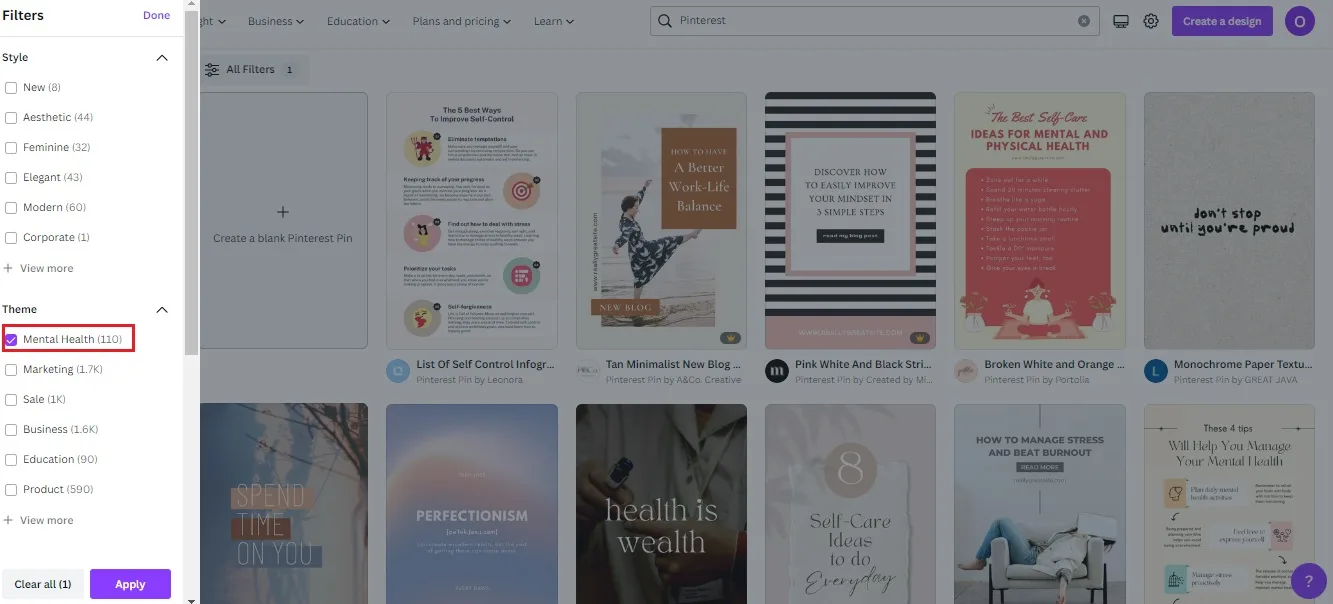
At last count, Canva had 11,300 Pinterest pin templates.
Scrolling through all those to find one you like will take ages. So, I recommend using the filter options to narrow down your options to those that best suit your needs.
Here, you can search for pins according to:
– Style
– Theme
– Subject
– Topic
– Color.
For example, in this image, you’ll see that choosing mental health as your theme will bring up a whole bunch of pin templates that are perfect for your therapy practice.
3. Select ‘Customize This Template’
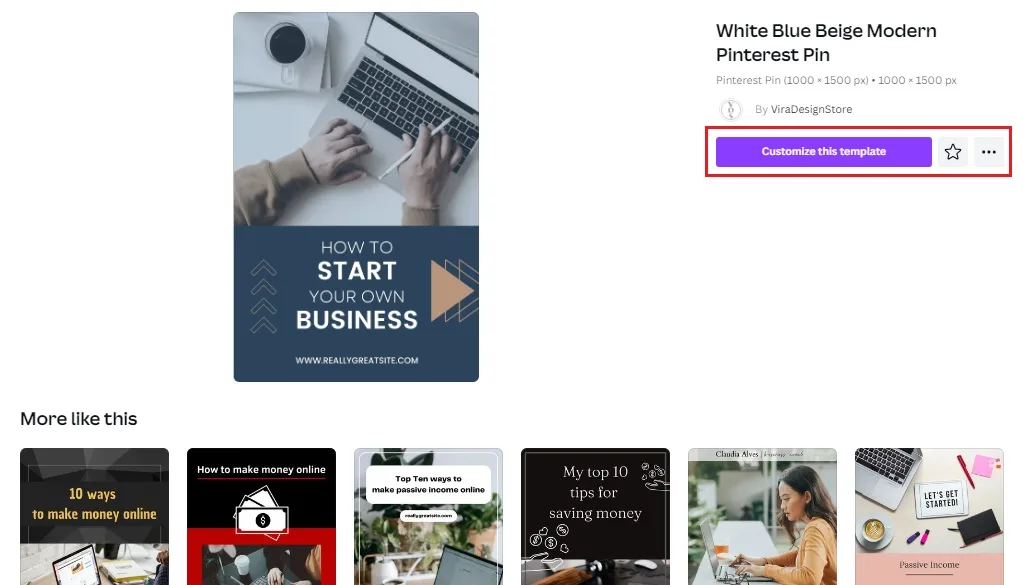
Once you’ve found a template you like, tap on it to view a larger preview.
Happy with your selection?
Great, then click Customize This template and let’s keep going.
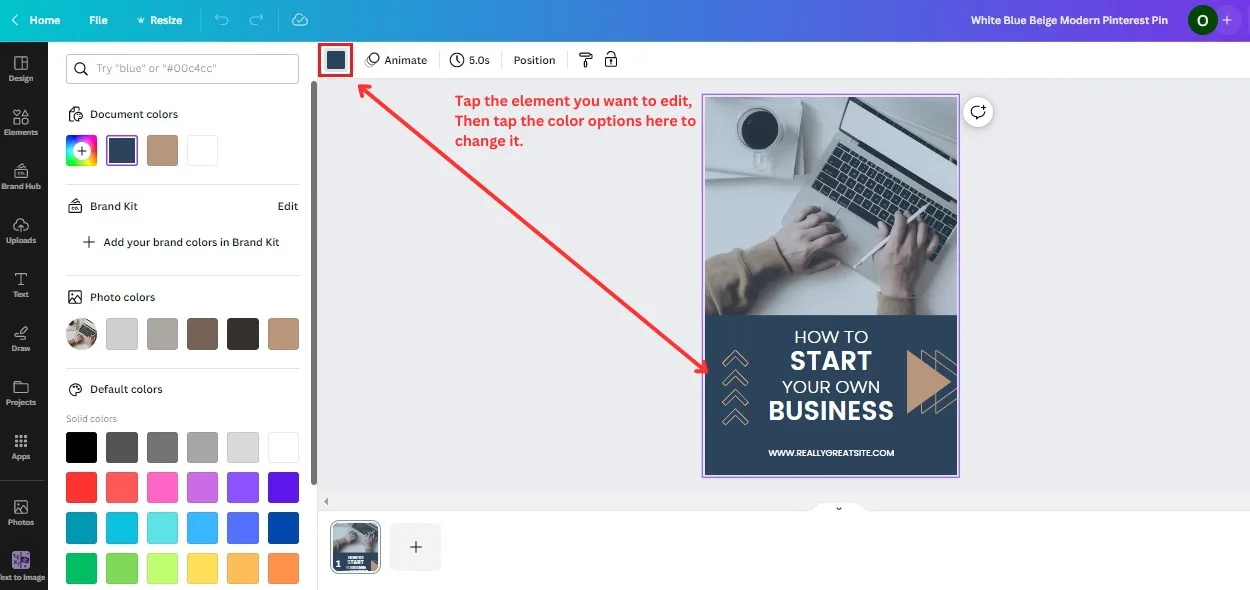
4. Edit Your Element Colors
If you used my Canva Pinterest profile cover tutorial, the next few steps should be familiar to you as you’ll be editing your pin in much the same way.
First, you’re going to change the colors of your design.
To do this, tap any element in your design.
Notice how a colored square appears at the far left of the editing menu? Click that to bring up the color selection menu and pick the colors you prefer.
Here’s where I usually recommend sticking to the same colors you use in other aspects of your business branding, such as your website and therapy practice logo.
That’s still a smart idea, though -as you’ll see at the end of this tutorial- I broke my own rule with my first few pins for Therapist Marketing Tips, mainly so that I could show you the variety of design possibilities available on Canva.
5. Edit Your Text Colors
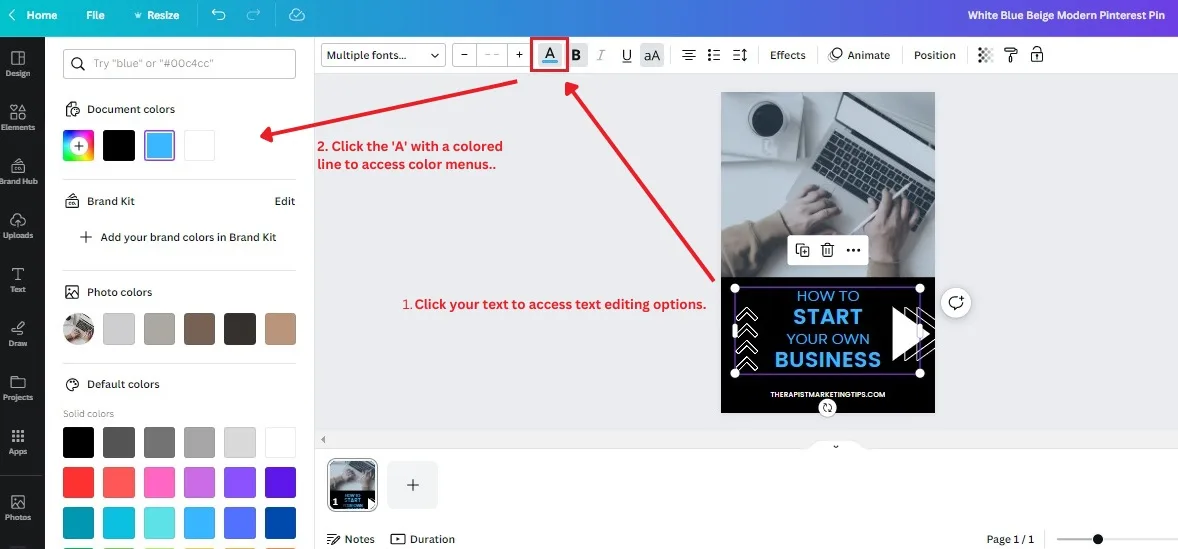
You can change the color of your text on Canva in pretty much the same way that you edit your element colors.
The only difference is that when you select your text, you click the letter ‘A‘ with a line underneath it that is the same color as your text.
Clicking that brings up the usual color menu that you can use to select the right colors for your design.
6. Edit Your Text

Since we’ve already got the text editor menu open, it makes sense that the next step to learning how to make Pinterest pins on Canva is to change the text itself.
To do that, just highlight the text you want to change as you would with any other software and replace it with your own.
You can then use the editor menu (shown in the image above) to customize all of the following aspects of your text:
– Font
– Size
– Color
– Styling (bold, italic, underline, bullet lists, etc.)
– Position
– Effects and animation.
7. Add and Edit Design Elements
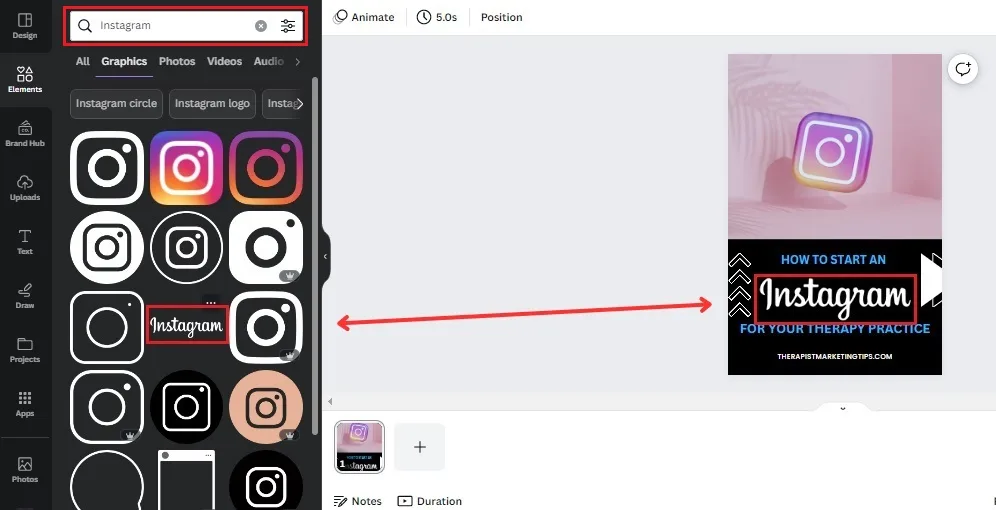
When I refer to ‘design elements’ on Canva, I’m talking about the icons, graphics, and other non-photo visuals you can add to your design.
For example, in this tutorial, you can see that my chosen Pinterest pin template has a series of upwards-facing arrows to the left and right-facing arrows on the right.
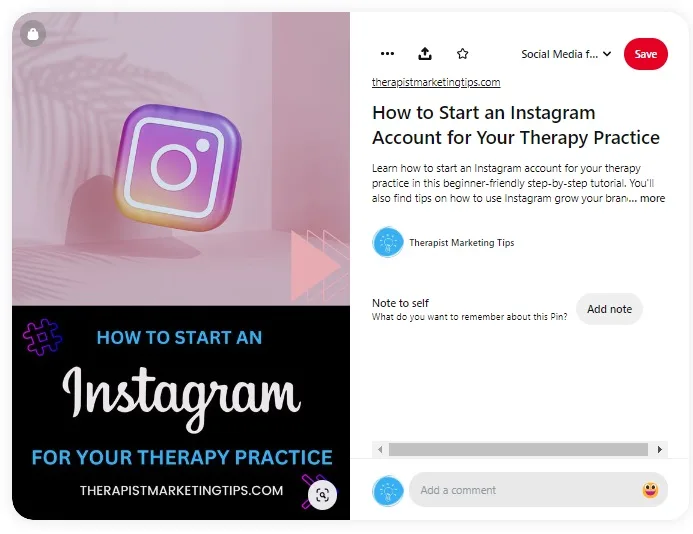
Since I’m making this particular pin for my guide to creating a therapy practice Instagram account, I also added the Instagram logo by going to Elements – Graphics and searching for Instagram.
You can do the same simply by using the search bar to find the graphics you want. Then, either click on a graphic element to add it to your design or drag it into place.
Speaking of dragging, if you’re not happy with how your graphic elements are positioned in your design, all you have to do is click and hold on to that element, then pull it into position or resize it.
8. Add Photos
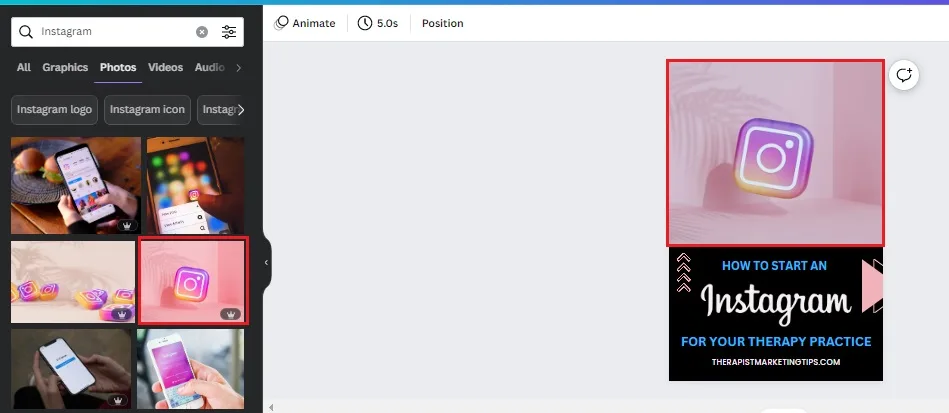
You can add free stock photos to your Canva Pinterest pins in the same way that you add elements.
Only this time, navigate to Elements – Photos. Then, search for the type of image you want and add it to your design.
Alternatively, you can go to Uploads and import your own images from your device.
9. Save and Share Your Design
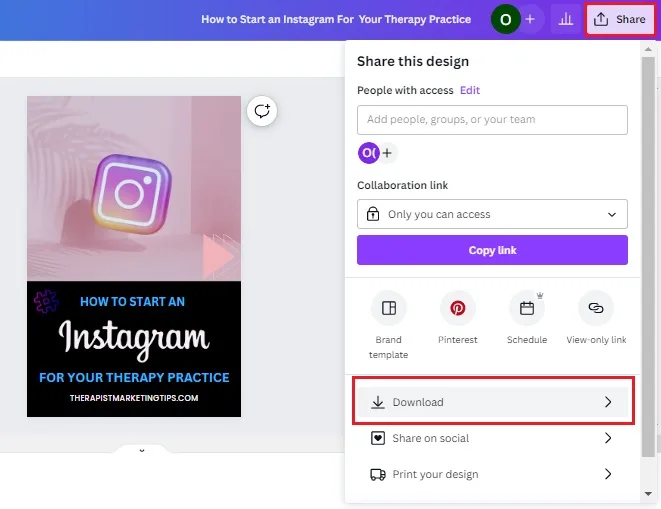
When you’re 100% happy with your design, give it a name, then tap the Share button in the top-right of the screen.
This brings up a dropdown menu with all the different ways you could possibly get your design out into the world. For this tutorial, I’m going to show you how to manually download your design and upload it to Pinterest.
To download your design, tap the Download button from the drop-down menu. This will bring up another menu where you can change the file format and adjust some other settings.
I recommend keeping everything the same and hitting the big, purple DOWNLOAD button to save your design to your device.
10. Choose ‘Create New Pin’ on Pinterest
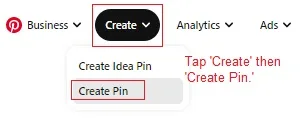
With your pin ready to go, open up Pinterest and go to Create-Pin.
11. Upload Your Pin
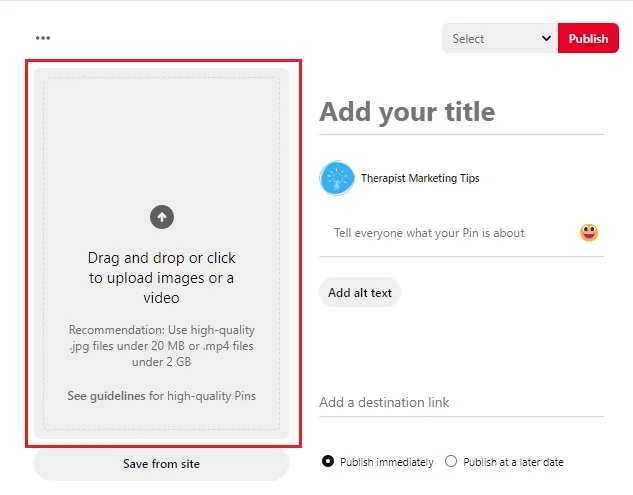
A pop-up window will appear with everything you need to create a new Pinterest pin.
To begin, first, upload the design you just created on Canva.
You can do this either by dragging and dropping a file from your device or tapping on the arrow to upload.
12. Fill in Your Pin Details
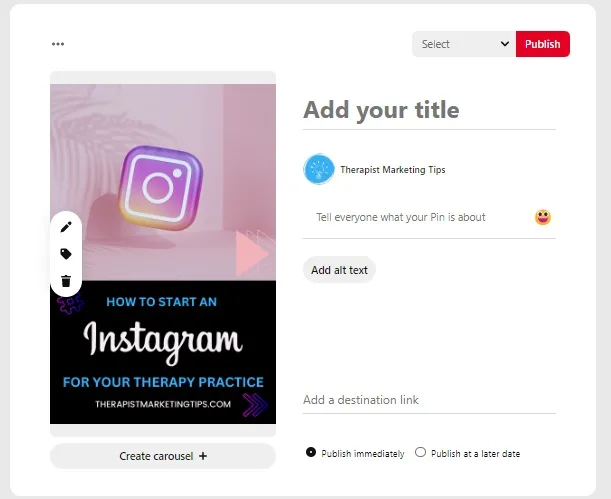
Next, you have four details to add to your pin.
A. Pin Title – This should closely (if not exactly) reflect the title of the web page you’ll be linking to with your pin.
B. Pin Description – Tell people what benefit they’ll gain by checking out your post.
You should also be adding relevant hashtags in this description to boost your visibility on Pinterest.
C. Alt Text – An essential aspect of your design for both accessibility and SEO, your alt text should describe your image in a way that makes it easy for users with visual impairment difficulties who access the web via screenreaders still understand what the image is and what it’s about.
D. Destination Link – Here’s where you add a link to the page or blog post that you want people to visit after clicking on your pin.
13. Choose or Create a Pinterest Board
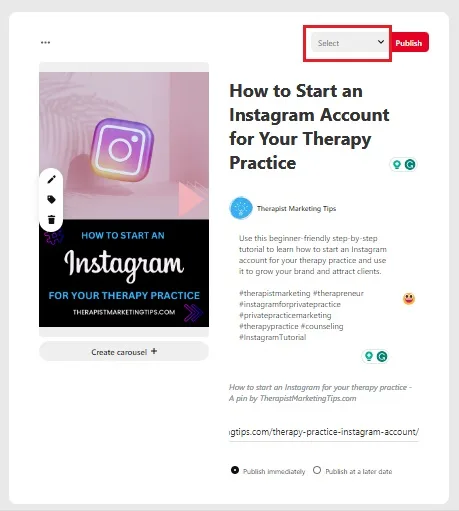
Before you hit the publish button, click on the drop-down menu next to it to choose which one of your Pinterest boards this pin should be saved to.
If you don’t yet have a relevant board for this pin, you’ll find an option to create a new one at the bottom of this menu.
14. Publish Your Pin
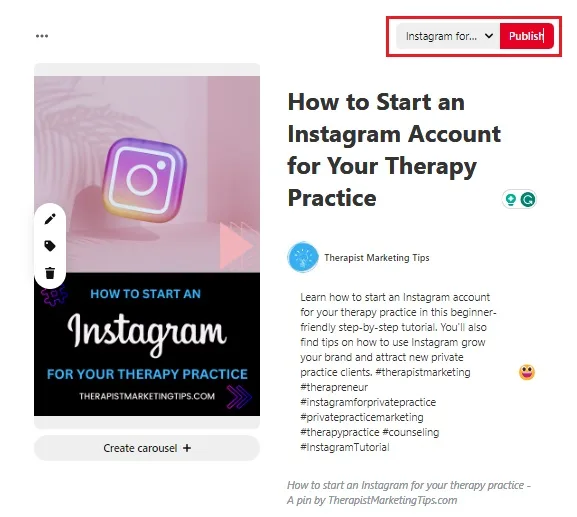
Finally, when you’re happy that your pin is ready to go live, simply hit the publish button.
When that’s done, so are you. You’ve successfully learned how to create a Pinterest pin and add it to your Pinterest account.
All that’s left to do now is repeat the process for each new piece of content you publish on your site.
Pinterest Pin Examples
While creating this how to make Pinterest Pins tutorial, I wanted to show you the wealth of design possibilities that are available on Canva.
In the image below, you can see some of the pins I’ve created for the Therapist Marketing Tips Pinterest account.
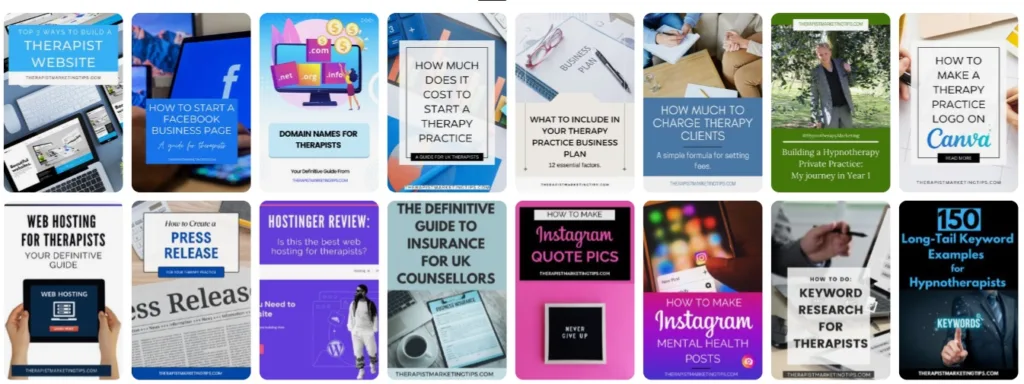
My hope is that by sharing this, you’ll get some idea of what you can do on Canva and get inspired to create your own pins using the tutorial above.
Frequently Asked Questions About Pinterest Pins
How often should I post on Pinterest?
Aim for no more than once a day or 1-5 times per week when just getting started. You can up the amount you post as your Pinterest grows, but as with most things, it’s better to focus on quality over quantity.
How do I make my Pinterest pins go viral?
You don’t. Other people do that for you by engaging with your pins through comments, shares, and repins. Focus on creating quality content that resonates with your audience, and that engagement will come.
Is there a way to add multiple pins at once?
Yes. You can add multiple pins at once using the Bulk Pin Creator. Find it by going to Settings – Create Pins in Bulk and upload your pins in a .CSV file.
How to Make Pinterest Pins: Recap and Next Steps
So, now you know how to make Pinterest pins on Canva in just a couple of minutes.
As you’ve learned in this tutorial, the process is as simple as:
- Opening Canva and choosing a template
- Editing and downloading the template
- Uploading it to Pinterest with a description and other pertinent data.
The free version of Canva gives you everything you need for this, but I still recommend checking out the 30-day free trial of Canva Pro to get access to more high-quality templates and design tools.
Once you’ve done all that, come back to Therapist Marketing Tips, as this tutorial is part of a larger guide to growing your therapy practice on Pinterest in which you’ll learn:
- The benefits of using Pinterest as a marketing tool
- Tips and best practices for growing your Pinterest audience
- How to create all the design elements you need for an optimized Pinterest business profile.
Enjoyed this post? Get more marketing advice for therapists every week by following Therapist Marketing Tips on Facebook.